You can now integrate your Sellercloud account with Reebelo via API. Contact our Support Team or your onboarding specialist to request the latest Reebelo Website Cart plugin. The new integration supports order download, listing new products, and automatically updating prices and inventory.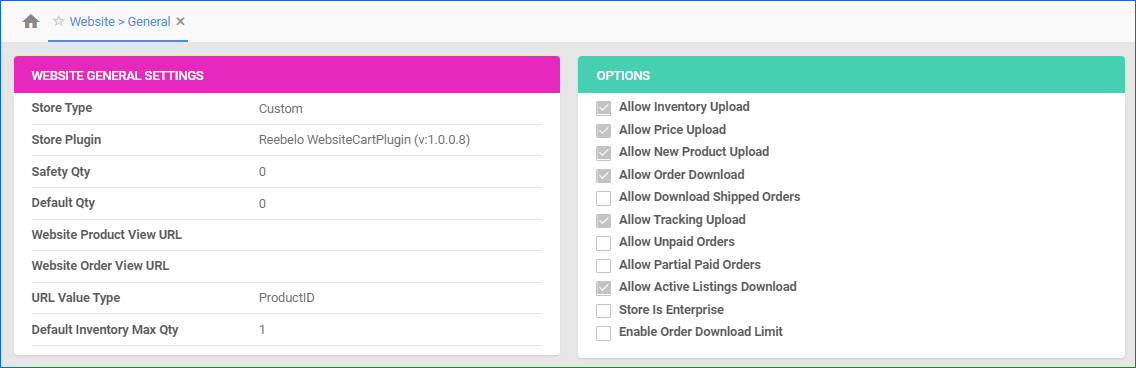
New
April 25, 2024